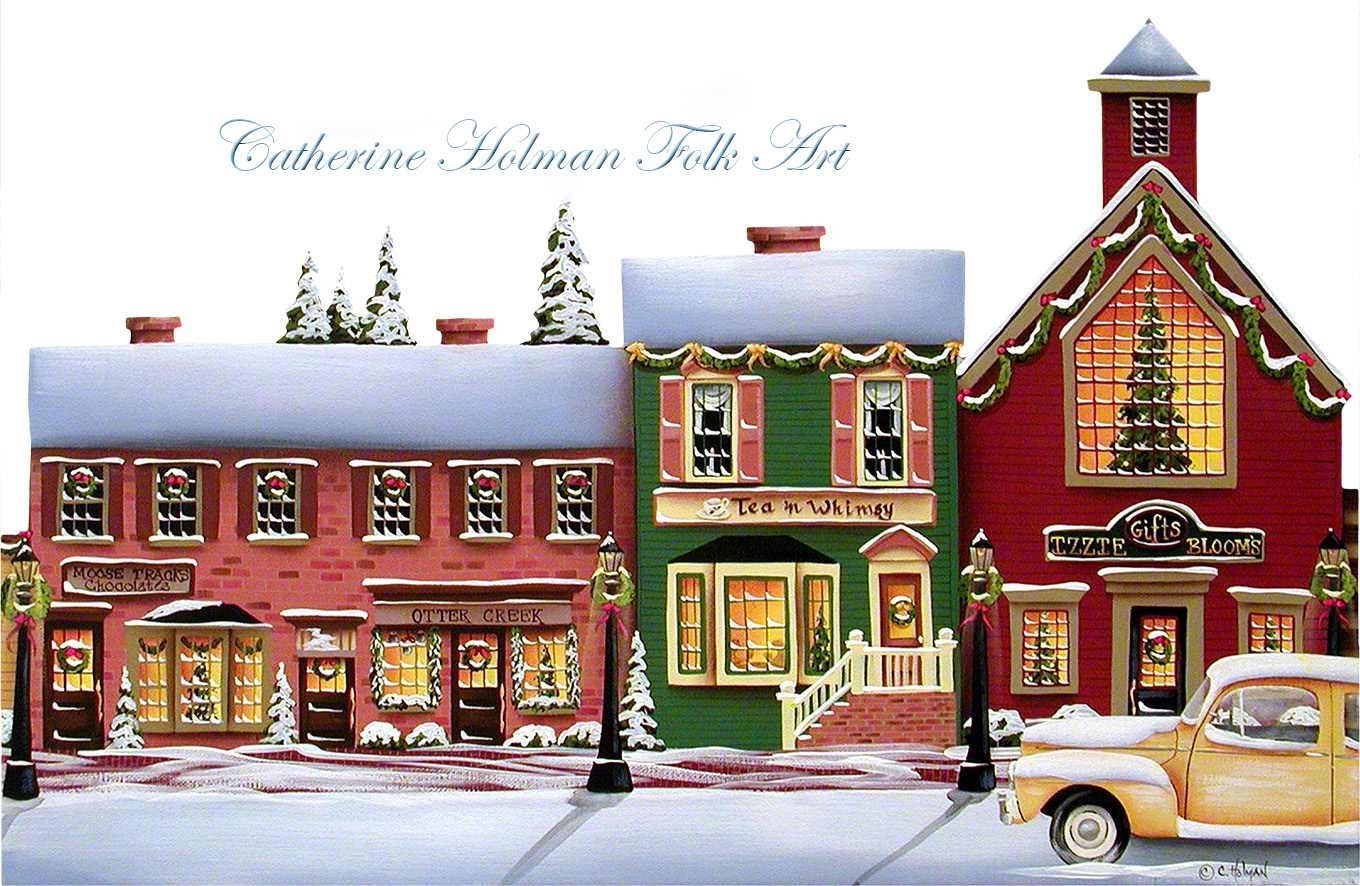
Showing posts with label Step by Step Painting Photos. Show all posts

Friday, November 15, 2024

2024 Christmas Painting Nearing Completion

Thanks so much for following along as this new painting nears completion.  It's funny how it takes me just as much time to decide what to add to a painting as it does to actually paint it.  Hopefully it will be finished today.  A good friend suggested a dog walker which I'm definitely going to add.  Other ideas keep popping into my head too and we'll see which ones make it onto the canvas today.


Tuesday, November 12, 2024

2024 Christmas Painting Progression is Smokin'

 The chimneys are smokin' all through the neighborhood.  This is always one of my favorite details to add.


Now decisions have to be made for the foreground.  People, cars, dogs?  


Friday, November 8, 2024

New Christmas Painting Continued

I've had so much fun with this painting that I got up at 5:30 to get back at it.   


I'm so tired that I'm putting it away for now to give my brain and eyes a break.  
I will get back at it Monday bright and early.


I might need some help with a title.  


Wednesday, November 6, 2024

2024 Italianate Christmas Village Painting Step by Step

I'm really getting in the mood for Christmas even though it's still in the 60's here.  Today I'll be painting brick on the front and center house and finishing this charming home today.  My plan is to have all the houses done this week so I can begin adding other items to this scene.

Our home turned 100 years old this year and once this painting is finished my plan is to start decorating for Christmas.


Tuesday, November 5, 2024

2024 Christmas Painting Moving Right Along


It's coming right along!  I've so loved working on this. Adding garland, snow, wreaths, etc is like the icing on a cake.  

This is truly so much fun!


Tuesday, August 29, 2023

New Folk Art Winter Scene in Progress

I've been working on a new painting of a beautiful business in my hometown,  
The Inn On Crescent Lake.  We got the chance to stay there last year and I felt the urge to run home and put this on canvas.  Summer came along with all my gardening chores and this got put off for a while.


It feels wonderful to have a brush in my hand again!


Tuesday, August 9, 2022

Progress of Folk Art Painting Christmas Magic

Progress of Folk Art Painting Christmas Magic


In between camping this summer in sweltering heat, I've been working on this painting.  To keep me motivated, I've been adding the Christmas decorations as I go instead of waiting until the end.


I've always referred to this stage as the icing on the cake and it's my favorite part of painting!  This is when the painting seems to take on life and I start writing the story in my head.


I can also see at this point where changes need to be made.


Adding the teeny, tiny people hanging decorations on the evergreen by the church put my eyes to the test after vision correction and cataract surgery several months ago.


This doesn't seem like the best choice of location according to the look on the snowman's face.


Hope everyone has enjoyed summer this year because I can honestly say that I'm ready for a long fall season!


Tuesday, July 30, 2013

Spooky House Halloween Painting

Would you walk up to this house on Halloween night (house on lower left)?   I've always thought this house looked a little spooky from the day I took the photo and I think it works well in this painting.  Once I finished painting the shrubs and sidewalk, I realized that all the lights are off in this house.  I may have to change that.  I like my Halloween paintings to be child friendly especially with little goblins going door to door.  What do you think, lights on or off?

I started the lower right house this afternoon and hopefully this painting will be finished by the end of next week.


Thursday, May 16, 2013

It's a Snowman Party in May

Two more houses are being added in the front between the snowmen.  I'm working on them right now, but wanted to give you another sneak peek.  
I will be having a "giveaway" as soon as I finish this painting.  An 8" x 10" print will be given to the reader with the best title for this painting.  

I'll be back with the finished painting soon!


Thursday, March 29, 2012

Folk Art Painting Continued

Today I continued this painting by working from the background forward.  Fence, paths, bushes, and details on the little stone house start to bring this little village together.

Buildings in the foreground will be painted next.  Hope you enjoy watching this painting grow.  You can check out how it looked before in my previous post.
I'm going over the village names that I've collected in my little notebook and will be writing the story to go with the painting when it is finished. 
Here are a couple of scenes that I painted that are a similar layout.


The final details are always my favorite part!

Wednesday, March 28, 2012

Summer Village Folk Art in Progress

I've gotten a little farther on my new painting and thought you might enjoy seeing the stages that it goes through. 


I'll try to remember to photograph as I go along.  You can see the very beginning in the previous post. 

Here are some older spring and summer scenes that are still available as prints in my Etsy and eBay stores:


This warm spring weather has all my flowers coming up before I have time to get the leaves raked off and the perennials cut back.   We've had such a warm winter and spring, causing me to be a little concerned about what summer will be like.    Are you still shoveling snow or working in the garden like me?

Thursday, July 31, 2008

Finishing the Painting

Step 6
Base the entrance and door. Shade the top and right side of all the yellow windows. This will add a warm glow.
Step 7
Paint the trim above and below the windows with a #4 flat and then outline the windows and paint the pane lines with thinned paint and a liner brush. I've also outlined below and to the right of each window pane (in yellow windows) with brown.

Step 8

Door and shutters are shaded and then highlighted. Add a door handle with the same yellow used for the windows using a liner. Shade the right side of the handle and then highlight with white and a liner.

Step 9

Stipple the bushes below the house with Black using an old fuzzy brush.

Final Stages

Stipple the bushes with two shades of green to give depth.

This gives you an idea of start to finish of painting a house. In my books, packets, and classes I gave much more detailed instructions and this would take up way too much space for this blog. Sometime I hope to figure out how to teach classes online. I taught for many years and dearly miss all the wonderful friends that I made during that time. Anyone having online class ideas, let me know in a comment.

This 16 inch x 20 inch painting was listed on eBay this evening. I finished it late and the photo isn't the greatest because of the lighting. I will try to take better pictures tomorrow and replace this one. That's what happens when I'm in a hurry. This one is titled Maple Ridge Manor.

The scent of smoke fills the air as evening arrives. Inside the Robertson home the family gathers by the fire wrapped in the warmth of sweaters and blankets. Lucy has just made chocolate chip cookies and hot chocolate for her husband, Edwin, and their two children. This will bring a cheery smile to their sweet faces. Outside the warm glow of light from the windows adds a soft glow to the vibrant autumn hues of falling leaves. The leaves drift here and there as a gentle breeze tucks them into corners and on top of bushes like frosting on a cupcake.

Wednesday, July 30, 2008

Next Stages Of My New Painting

The continuing saga! Below I've painted the mortar lines on this brick building with thinned paint using a liner brush.
It may look as though I haven't done anything in step three, but I have shaded the chimneys and below the roof line.
In the next step I've shaded the top of the roof with black.
During step five I used a chalk pencil and sketched in the windows, shutters, and doorway. They are basecoated with a brush that fits that area. Several coats are usually needed.
Please excuse my ugly hands in the next photos. My shading is always done with floated color. I start out by folding two "Viva" paper towels into a square to use for my blotter. I'm illustrating with an old brush. Your brushes should "never" look this bad! (Ha!) Dip your brush in water and blot gently on paper towels(one side only).
Now dip the corner of your brush into the puddle of paint.
Blend your brush on your palette back and forth in a sweeping motion, keeping the opposite corner out of the paint. Now your brush is loaded and ready to shade. Practice makes perfect and I've had over 25 years of practice!
I never realized how hard it would be to photograph my own hand without help. I'm sorry for the blurred image.


Tuesday, July 29, 2008

A Burst of Red

The other day I looked out my bathroom window and saw a flash of red out of the corner of my eye. I stood there for a while and then I saw it. There was this beautiful cardinal hopping from branch to branch and he had food in his mouth. I ran to get my camera and was amazed that he hadn't flown off. He was still there because in the dogwood tree next to this one was the nest where the female cardinal was sitting. This is the only location where I can see this nest. I would love to see it when the babies appear and if I do, I'll try to photograph it for you. I've always loved the stark contrast of cardinals against green leaves or against the pure white of snow. Now, for my other burst of red. This is Stage One of my newest painting. I'm working on a larger canvas for a change (16 x 20). I will try to keep up with photos of the next stages for my next post. I think I'm finally back in the swing of painting!